Cursor with IDrive® e2 MCP
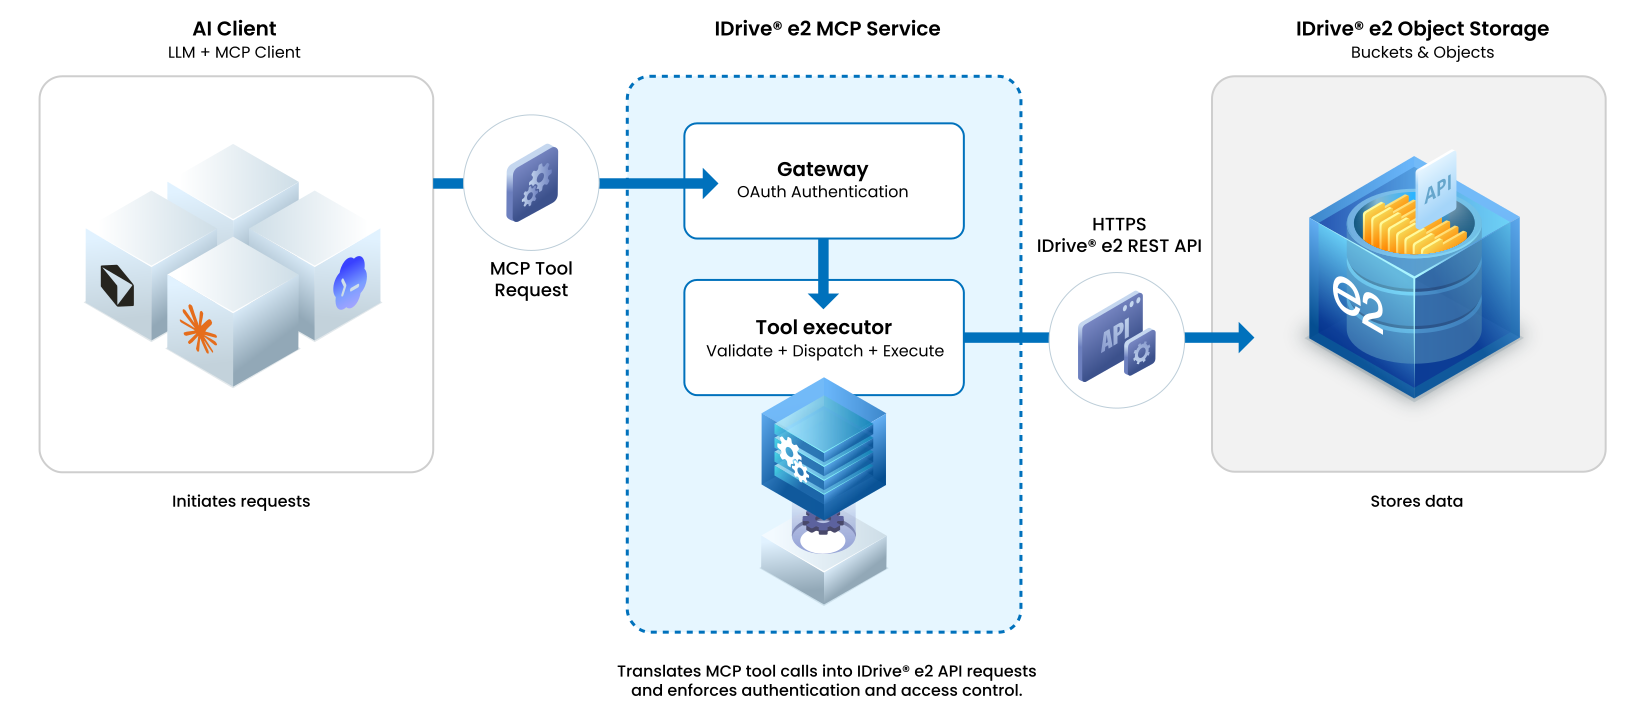
IDrive® e2 MCP connects your IDrive® e2 object storage with AI assistants and applications using the open Model Context Protocol (MCP) standard. It enables compatible AI clients to securely access and work with your data using natural language, eliminating the need for custom integrations, scripts, or manual workflows. This guide explains how to connect Cursor with IDrive® e2 storage using the hosted MCP.
Prerequisites
- An active IDrive® e2 account.
- Access to a Cursor account.
Reference Architecture
Configure Cursor for IDrive® e2 MCP
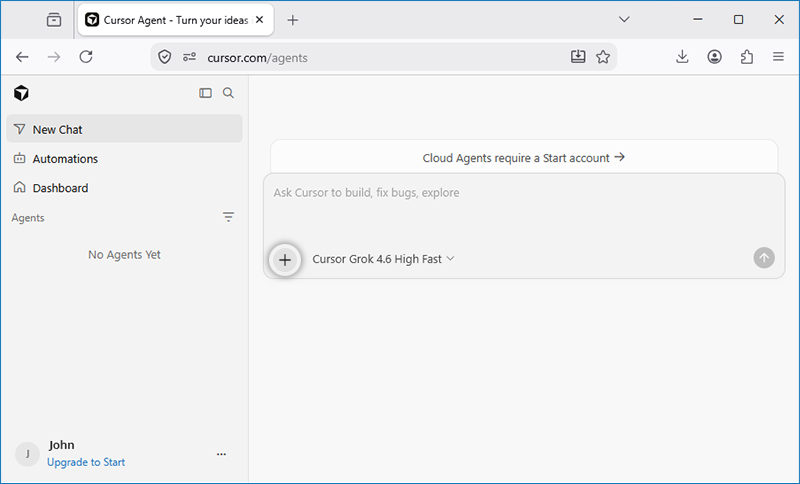
- Sign in to Cursor, start a chat, and click +
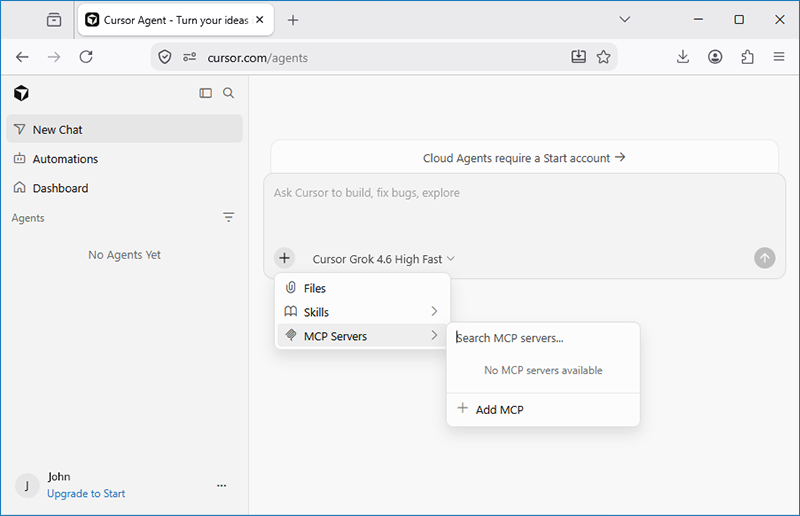
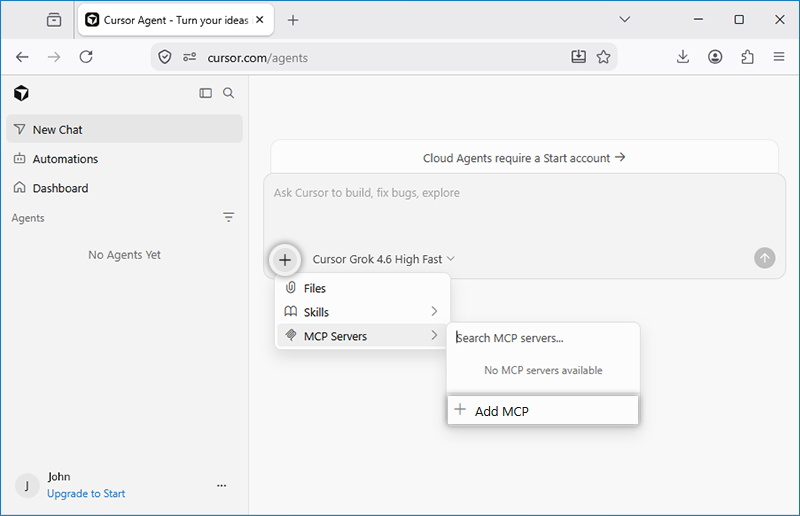
- Go to MCP Servers and click Add MCP.
- In the Browse MCPs popup, select Custom MCP.
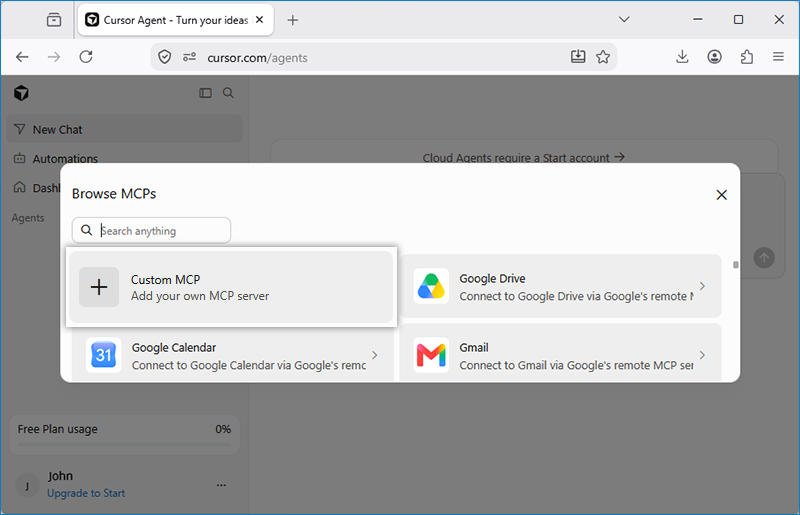
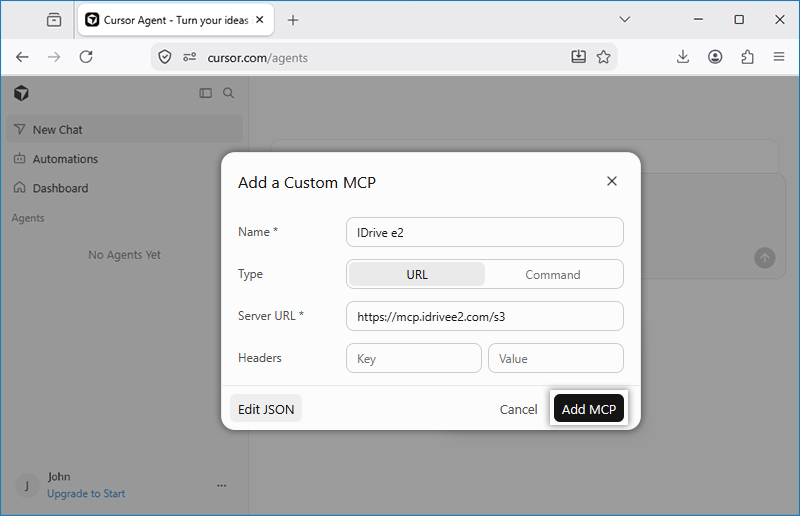
- In the Add a Custom MCP popup, provide the following details and click Add MCP.
- Name: IDrive e2
- Type: URL
- Server URL: https://mcp.idrivee2.com/s3
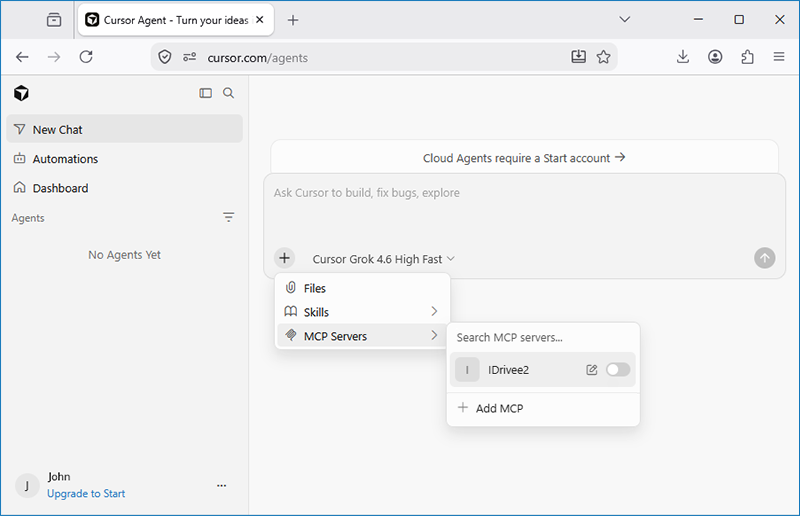
- The newly added MCP server will be listed in the MCP Servers dropdown.
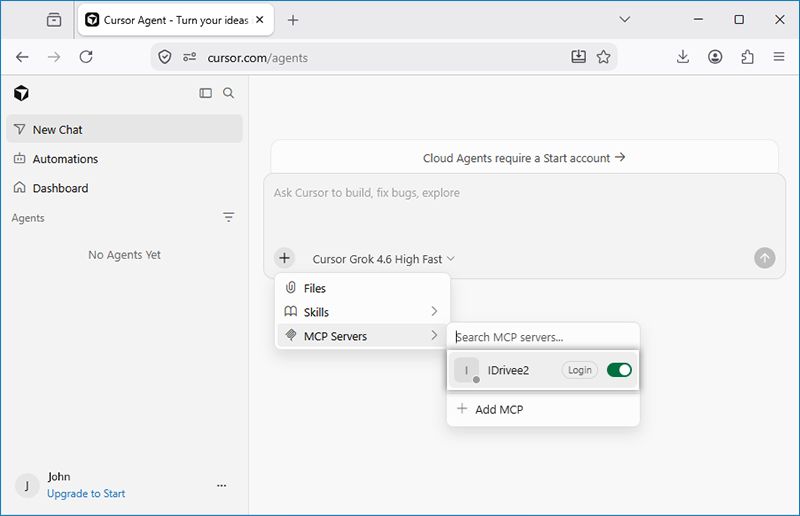
- Enable IDrive® e2 MCP using the toggle and click Login.
- You will be redirected to the IDrive® e2 web console. Click Sign in to IDrive® e2.
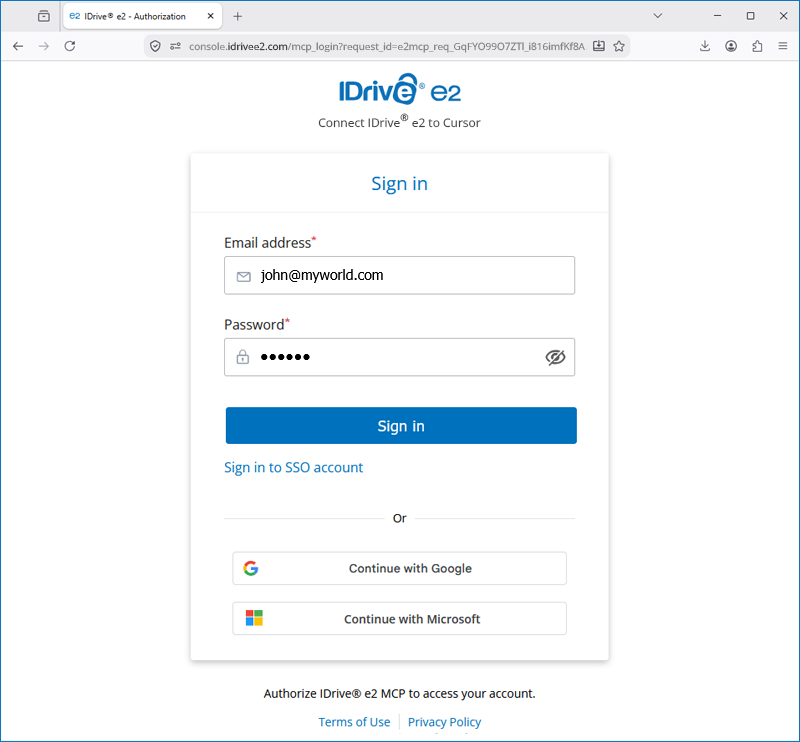
- Provide the following details and click Sign in.
- Enter your IDrive® e2 account email address and password.
- Or you can proceed with Google Sign In.
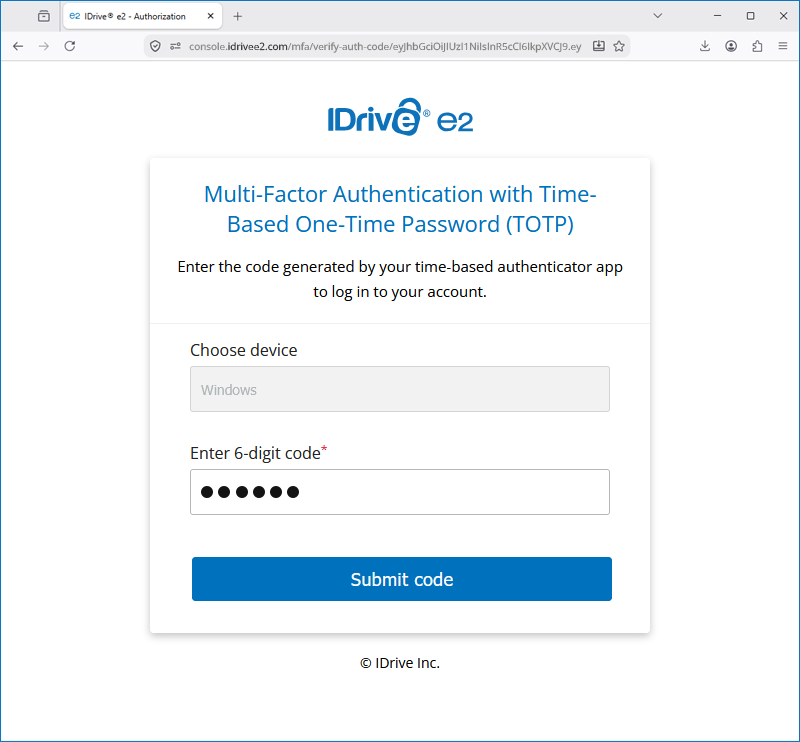
- Complete MFA if configured for your IDrive® e2 account.
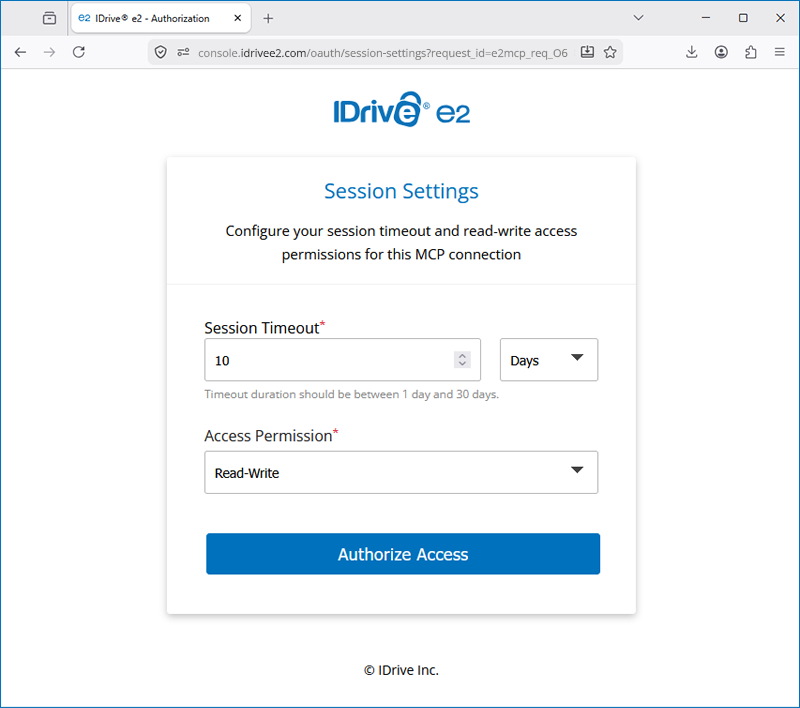
- Set session timeout duration and access permission.
- Once signed in you will be redirected to Cursor.
- Navigate to the Cursor MCP page and verify that IDrive® e2 MCP is active.
- You can now use natural language prompts to interact with IDrive® e2 storage.